It was a horrible white laminate with gold-ish ribbons running through it but it is the perfect size for my needs. The 'yellow' top is only a light the previous owner had installed inside.

Began by using fine sand paper but it was taking such a long time and every time I looked at it in bright light I noticed many little spots that needed more sanding. Finally decided to invest in a BLACK & DECKER MOUSE SANDER
You have to be very careful with an electric sander because you can actually remove too much of the top layer but with patience the finished product is well worth it.
After sanding I vacuumed the entire piece and used a tack cloth wiping the entire piece to make sure it was completely clean.
I used spray primer, it took 2 cans. Primer cured for 7 days. It is very important not to rush this, the longer you allow your primer to cure the better adhesion and the less chances your paint will scratch off.
I am using Valspar Interior Satin Finish. Foam roller, corners with a foam brush.


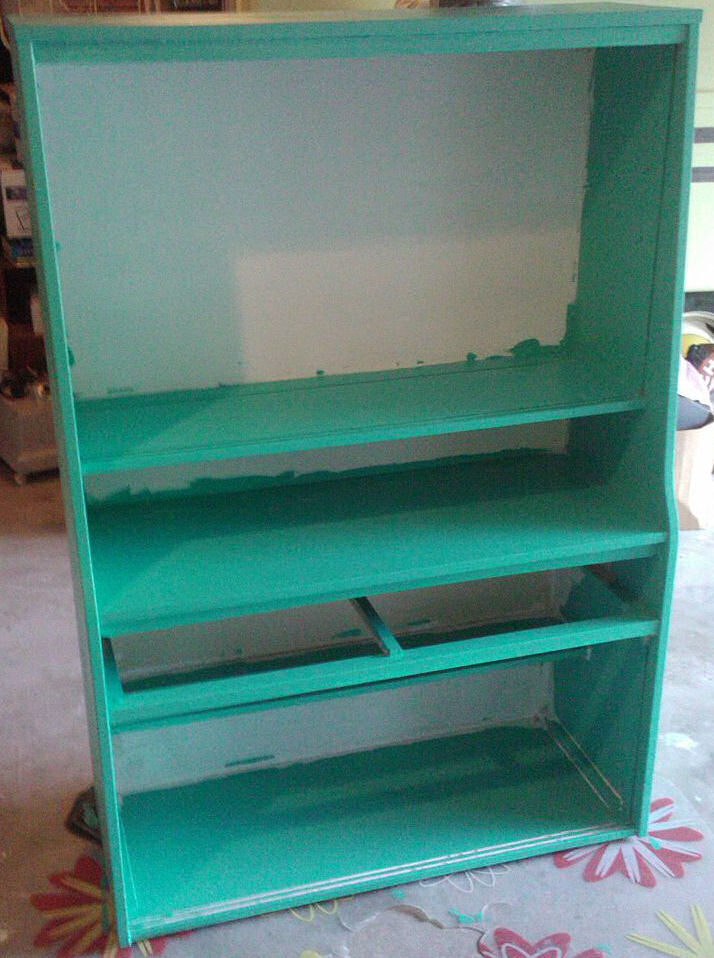
Round 2 - No drawer handles yet because we are in search of Mid Century (3" drill holes) ones that will match.
The inside of the hutch was painted a light sage green. I wanted to lighten the interior without having to use a light.

Feet from Lowe's. They came in blonde wood unfinished.

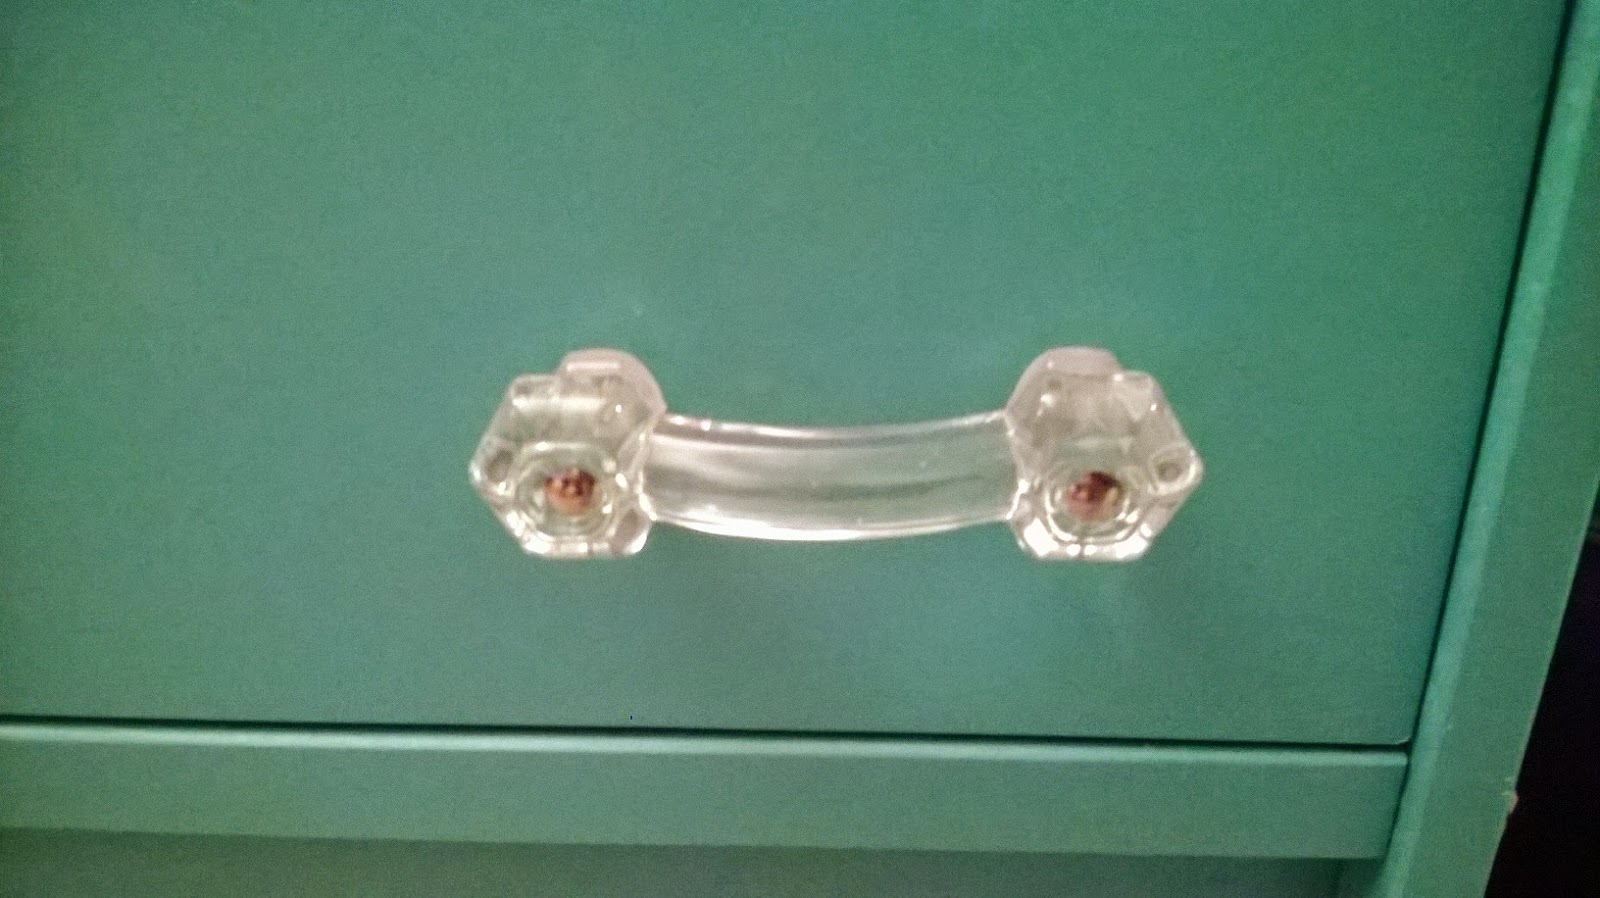
Update January 2015 Found fabulous Atomic 50s handles!
Old
New

No comments:
Post a Comment